How to Replace an Electrical Outlet: A Step-by-Step Guide
Electrical outlets are used daily, but they don’t last forever. Over time, they can become loose, stop holding plugs securely, or show signs of damage. Learning how to replace an electrical outlet is a simple DIY task that improves both safety and functionality in your home.
Signs You Need to Replace an Electrical Outlet
There are several signs that indicate it’s time to replace an electrical outlet. You might notice:
- Plugs no longer stay securely in place.
- Lights flicker when using the outlet.
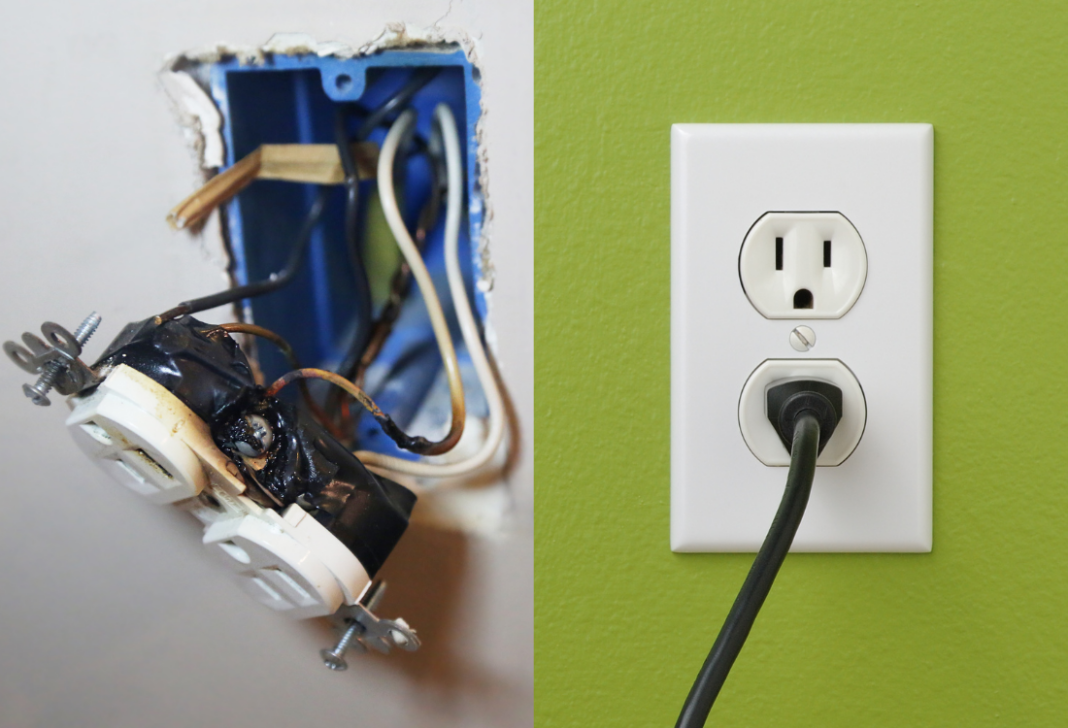
- Burn marks, discoloration, or sparking.
- An outlet that feels warm to the touch.
- Two-prong outlets that need upgrading to grounded three-prong outlets.
If you experience any of these issues, replacing the outlet can help prevent electrical hazards.
“Upgrading to modern electrical outlets enhances safety and helps prevent overheating, sparking, and poor connections. If an outlet is damaged, replacing it is the best way to ensure safe operation.”
Understanding Different Types of Electrical Outlets
Before you begin, determine which type of outlet you are replacing:
- Standard Outlets (15A or 20A Duplex Receptacles) – Common in most rooms.
- GFCI Outlets – Required in kitchens, bathrooms, garages, and outdoor areas to protect against electrical shock.
- Specialty Outlets – Consider upgrading to USB outlets, smart outlets, or tamper-resistant outlets for added safety and convenience.
How to Replace an Electrical Outlet in 7 Steps
Safety First
- Turn off power at the breaker panel.
- Use a plug tester or voltage tester to confirm the outlet is not live.
- If unsure, consult a licensed electrician.
What You’ll Need
- New electrical outlet (same amperage as the old one)
- Screwdriver
- Wire stripper
- Plug tester
- Electrical tape (optional)
Step-by-Step Replacement Guide
1. Turn Off Power
Locate your breaker panel and switch off the circuit powering the outlet. Use a plug tester to verify that the power is off.
2. Remove the Old Outlet
Unscrew the faceplate and outlet from the wall box. Gently pull the outlet out, exposing the connected wires.
3. Take a Picture of the Wiring
This helps ensure correct reinstallation, especially if multiple wires are connected.
4. Disconnect the Wires
Loosen the screws and detach the wires:
- Black (Hot) Wire → Connects to the brass screw.
- White (Neutral) Wire → Connects to the silver screw.
- Green/Bare Copper (Ground) Wire → Connects to the green screw.
5. Install the New Outlet
Attach the wires to the corresponding terminals:
- If using a 15A circuit, you may use the “backstab” method (pushing wires into holes on the back).
- For a 20A circuit, always use the “wrap” method (securing wires around screws) for a stronger connection.
6. Secure the Outlet and Faceplate
Carefully push the wires back into the box, ensuring they don’t touch each other. Screw the outlet and cover plate in place.
7. Restore Power and Test
Flip the breaker back on and use a plug tester to confirm the outlet is working properly.
Consider Upgrading Your Outlets
While replacing an outlet, you may want to install a modern, high-tech option:
- USB Outlets – Charge devices without an adapter.
- Smart Outlets – Control lights and appliances remotely.
- Tamper-Resistant Outlets – Improve safety, especially in homes with children.
Upgrading outlets can improve convenience, safety, and efficiency in your home.
Final Thoughts
Replacing an electrical outlet is a simple home improvement task that enhances safety and functionality. By following these steps, you can confidently upgrade your electrical outlets and ensure they meet modern standards.
Have any questions about electrical projects? Drop them in the comments below!


