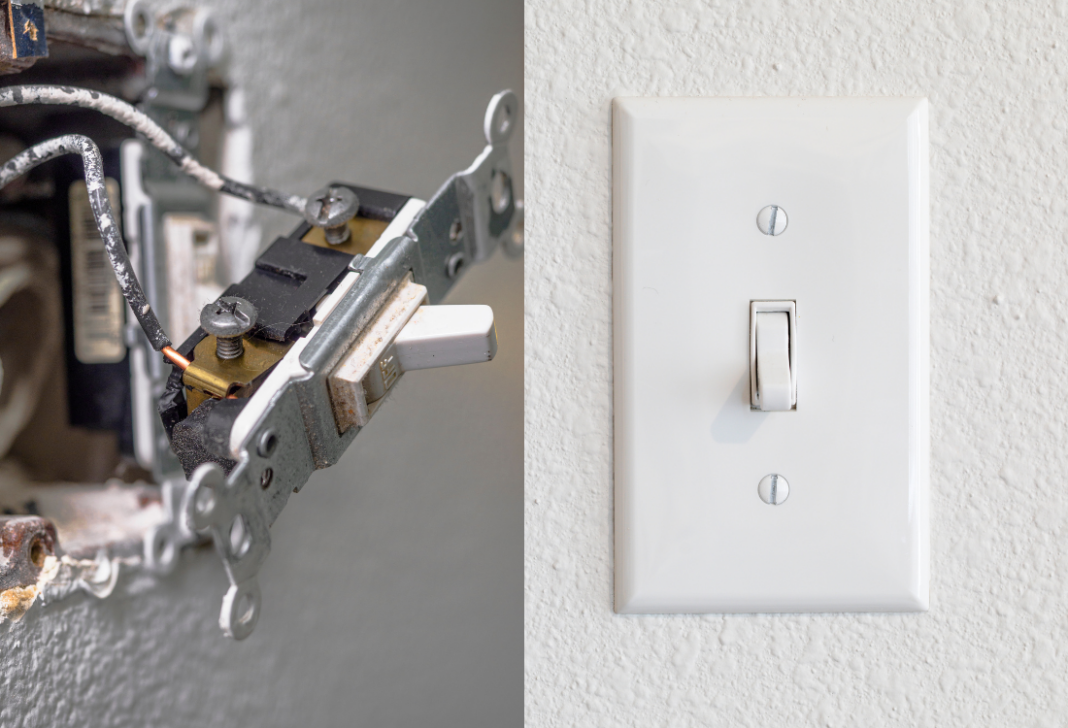
How to Replace a Single-Pole Light Switch
Flipping a light switch is second nature—until one stops working or feels loose. A faulty switch can be frustrating and, in some cases, a safety hazard. Learning how to replace a single-pole light switch is a simple way to restore functionality and improve safety with just a few tools.
Signs You Need to Replace a Light Switch
- The switch feels loose or doesn’t click properly.
- Lights flicker when using the switch.
- A buzzing sound comes from the switch.
- The switch gets warm to the touch.
- The switch is outdated and needs an upgrade.
“A properly grounded light switch prevents electrical shocks and ensures long-term safety. Always connect the ground wire securely to avoid contact shock hazards.”
What is a Single-Pole Switch?
A single-pole switch is the most common type of light switch. It:
- Controls one light from a single location.
- Has ON/OFF functionality with two brass terminals and a ground screw.
- Does not control multiple switch locations (unlike a three-way switch).
How to Replace a Single-Pole Light Switch
Safety First
- Turn off power at the breaker panel.
- Use a voltage tester to confirm the wires are not live.
- If unsure, consult a licensed electrician.
What You’ll Need
- New single-pole light switch
- Screwdriver
- Voltage tester
- Wire stripper
- Electrical tape (optional)
Step-by-Step Replacement Guide
1. Turn Off Power
Switch off the breaker controlling the light switch. Use a voltage tester to confirm power is off.
2. Remove the Old Switch
Unscrew the faceplate and switch from the electrical box. Gently pull the switch out, exposing the wires.
3. Take a Picture of the Wiring
This helps ensure correct reinstallation.
4. Disconnect the Wires
Loosen the screws and detach the wires:
- Black (Hot) Wire → Connects to one brass screw.
- Black (Load) Wire → Connects to the other brass screw.
- Green/Bare Copper (Ground) Wire → Connects to the green screw.
5. Install the New Switch
Attach the wires to the corresponding terminals:
- Black (Hot) Wire → Brass terminal
- Black (Load) Wire → Brass terminal
- Ground Wire → Green screw
6. Secure the Switch and Faceplate
Carefully push the wires back into the box. Screw the switch and cover plate in place.
7. Restore Power and Test
Flip the breaker back on and test the switch.
Final Thoughts
Replacing a single-pole light switch is a simple DIY task that improves home safety and function. By following these steps, you can confidently update a faulty or outdated switch without hiring an electrician.


